Build

So - you probably won’t go as far as I have - in building your own case; and an off the shelf one will be fine.

However, my last build went from a micro-ATX form factor to full ATX and kinda meant that it would no longer fit under my desk; in addition with the advent of the gamebois community; there are now loads of flashing lights upon everything; so I elected to make one out of wood - sympathetic to our New York loft-style office.

So - a lot of work with the trim router; and we have a case built specifically for our hardware.
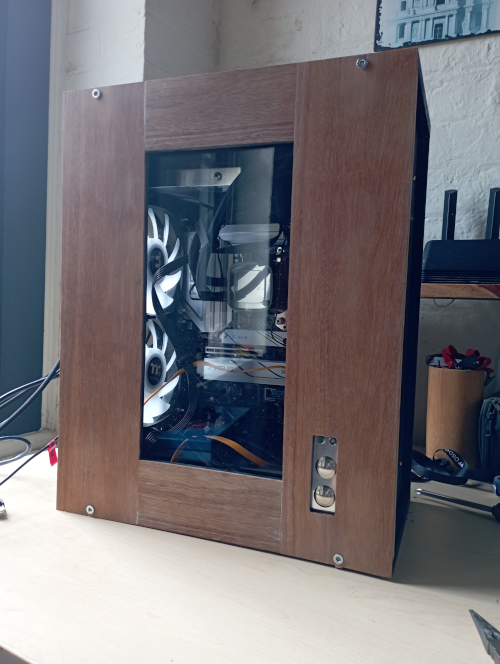
a DC in a Box

Todo

stain and varnish cabinet

Notes

It’s a bit confusing about front panel rail voltages; some reference 3-3.5V - and others 5V. It’s thus unclear as to whether or not LED’s (usually rated at ~2V - although it’s current (~20-30mA) that defines them. To be on the safe side; I’ve added 150 Ohm resistors (5V - 2V) / 20mA. As these are diodes; it is important to note the cathode side and wire in the correct direction.

For POST diagnostics; it is very well worth wiring a system/case speaker.

A 4-pin CPU fan header generally supports 1A/12V. Thermaltake 140mm case fans are 0.7A/12V and are on separate pins.

The DeepCool 120mm radiator fans are 0.29A/12V and we may chain all three onto one pin. However, the DeepCool system is using six-pin connectors (combining power and rgb); and supply a SATA interface instead (I guess 12V/4.5A) for fans; and a separate 3 pin AIO rail which we can pin into the AIO rail on the motherboard.